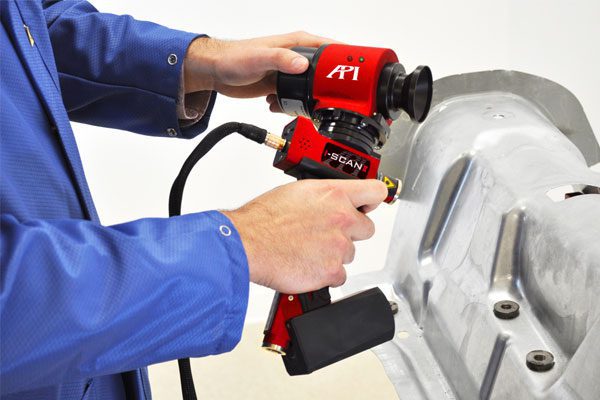
API iSCAN
HANDHELD SCANNING
IFM-BASED
ACCURACY
1.2 KG
WEIGHT
32,000
POINTS/SECOND
360°
SWIVEL HEAD
SCAN ANY SURFACE
IFM-BASED ACCURACY
360° TRACKING

CONTACT
Phone: 1-800-537-2720
FEATURES AND BENEFITS
ACCURACY
IFM based precise measurement for use in applications that include fixture inspection, gap and flush inspection, and reverse engineering.
SCANNING PERFORMANCE
Capable of scanning complex surfaces like high gloss or high contrast areas.
COMPACT SOLUTION
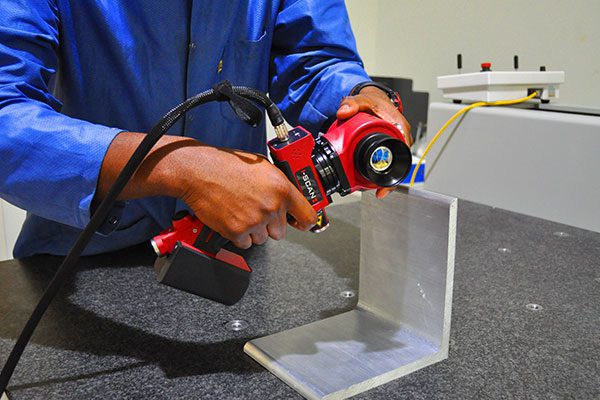
A lightweight 3D scanning system that is easy to transport and use.
360° CONTINUOUS TRACKING
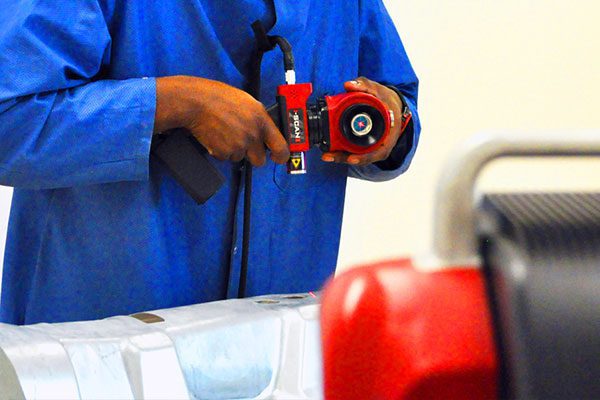
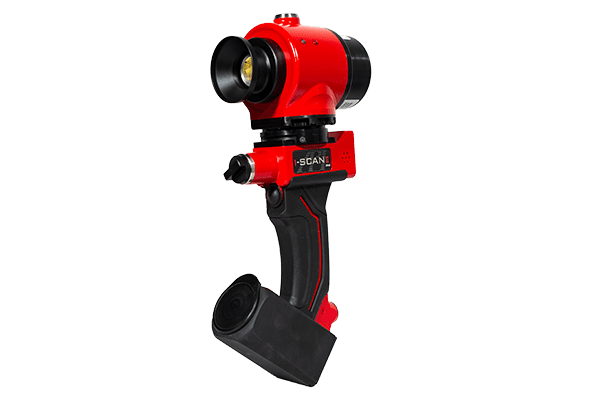
The iScan’s swivel head allows for continuous movement while being in line of sight with a laser tracker.
ERGONOMIC DESIGN
Easy to hold and operate during measurement of cavities, hidden angles and curves.
TECHNICAL SPESIFICATIONS
175mm STAND-OFF
| 7M | 15M | ABOVE 15M | |
| Spatial Length (SLU) | ∓ 50 μm | ∓ 80 μm | ∓ 20 μm + ∓ 4 μm/m |
| Sphere Radius (RU) | ∓ 50 μm | ∓ 75 μm | ∓ 30 μm + ∓ 5 μm/m |
| Surface (SrU) | ∓ 100 μm | ∓ 110 μm | ∓ 80 μm + ∓ 2 μm/m |
SPATIAL LENGTH UNCERTAINTY (SLU)
SLU is the deviation between a length measured with the iScanTM (in a static orientation) its nominal value.**
SPATIAL RADIUS UNCERTAINTY (RU)
RU is the deviation between a measured sphere’s radius and its nominal value.**
MEASUREMENT UNIT SPECIFICATION
SLU and RU are further specified as a function of the distance between the laser tracker and the measured surface.
*These values represent the Maximum Permissible Error(MPE) between a verified Scale Bar and the expected performance of the instrument.
*Nominal Values are established by the Laser Tracker.
APPLICATIONS
Integrated with an API 6DOF Laser Tracker the innovative API iScan™ wireless handheld blue laser line scanner offers a fast, accurate and more productive solution to generate component point-clouds. Digitizing rates of up to 200,000 points/second and capable of scanning both shiny and dark surfaces iScan™ features 360° yaw and roll to achieve infinite sensor positioning. Weighing just 1.2KG its simple one-button operation provides effortless scanning functionality and also offers tactile probing providing even greater tracker measuring flexibility. Applications include:
- Part Inspection
- Cavity Probing
- Quality Measurement
- Jigs, Fixture & Tooling Inspection
- Reverse Engineering
- Surface Scanning
- Precise Measurement


