When we talk about industrial robots, we tend to contextualize them as tools that burst onto the scene in the ‘80s, fully formed harbingers of the Industry 4.0 movement that would automate manufacturing in the name of speed and efficiency. But the robots of this era that began populating automotive factories at ever-increasing rates were already a product of decades of refinement. The first industrial robot was actually made in 1938. It was comprised entirely of Meccano parts, and could be programmed to stack wooden blocks in patterns. And the first industrial robot patent was filed by George Devol for Unimation in 1954, with the patent being awarded in 1961. This was followed by the all-electric Stanford Arm in 1969, and the proliferation of European, Japanese, and American robotics companies that emerged in the ‘70s.
In the nearly 60 years of industrial robot design, production, and performance, however, one significant problem has remained: Robots have excellent repeatability, but their Trueness keeps them from being Accurate. As we’ve discussed on this blog, in order to be truly Accurate, one needs to be Repeatably True to a desired point consistently throughout whatever the desired task is. This lack of True Accuracy has limited the applications that Industrial Robots can perform and kept them from reaching their full potential, especially in industries that have the highest tolerance demands.
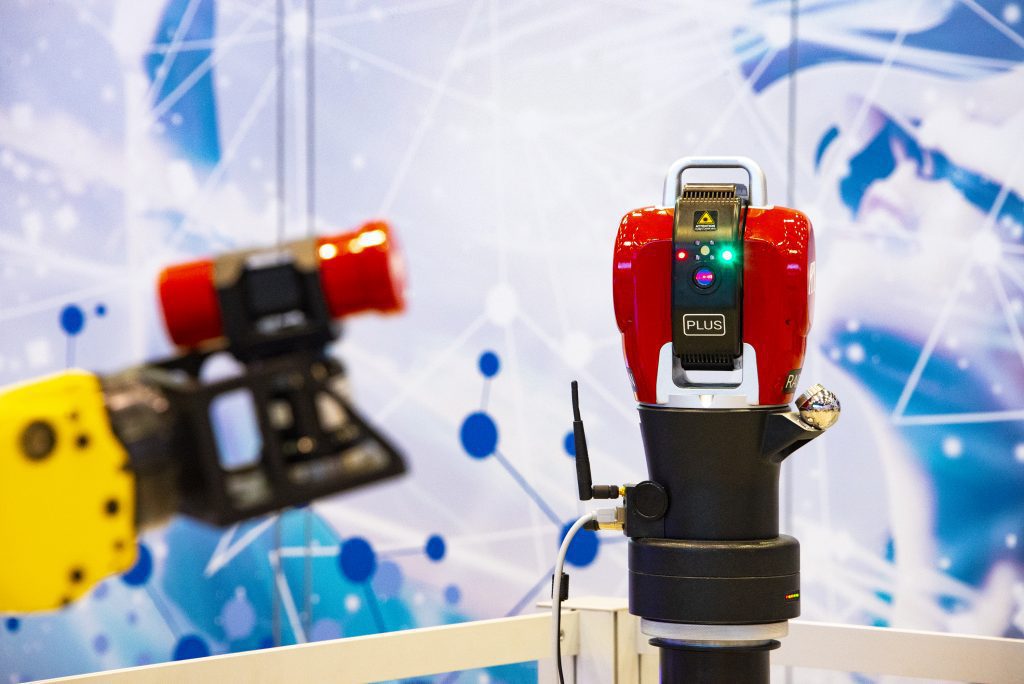
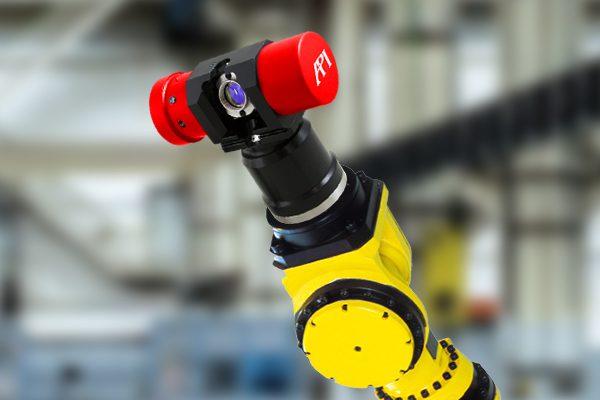
In recent years, calibration of Industrial Robots has taken great strides forward to help unlock the full potential of these machines. A Laser Tracker communicating with a smart Target or series of Spherically Mounted Retroreflectors (SMRs) mounted to the Robot’s end effector can monitor the robot’s absolute position as it goes through its paths. Calibration software can then compare this gathered data to the DH Kinematic model, communicating corrections in the robot path and position directly to the machine’s controller. These performance tests and corrections are made in accordance with ISO 9283 standards.
In addition to base accuracy improvements, there are several reasons to calibrate your Industrial Robot today:
1. Expanded Applications
As stated above, lack of true Accuracy has limited the implementation of many robot applications beyond teach mode. With proper calibration to improve positioning and path plans, Industrial Robots are opened up to a host of other applications, including inspection, machining, drilling, and 3D printing. These improved accuracies from calibration can even allow for robot use in industries with the tightest tolerances, like aerospace tooling. And their unmatched repeatability makes them faster and more efficient at performing these kinds of inspection tasks.
2. Individualized Performance
Like any mass-produced item, robots of the same model are built and delivered with identical nominal performance parameters for every robot of that model. Unlike other mass-produced items, however, the many moving parts and joints for Industrial Robots, and other influences like installation procedures and environmental factors, can lead to a much wider variance in individual robot performance, even if performance is still accurate. Robot calibration can help identify accurate parameters for each individual robot in your factory.
3. Restored Performance
Even robots that have been True and Repeatable in the past need their performance measured routinely to ensure continued quality. Robots, like all other mechanical equipment, naturally lose performance, and therefore accuracy, over time, due to natural wear-and-tear or from a collision or unexpected shutdown. For event-based reduction in performance like a collision or natural erosion over time, regular scheduled calibration can help restore robot accuracy and performance. These checks can detect and correct small errors before they become large enough to affect performance, reduce downtime and costly rework, and extend the working life of your robot.
Industrial Robots have traditionally been limited in their applications for productions with tight tolerances because, while Repeatable in their performance, they lack the Trueness of position required for real Accuracy. Laser Trackers, however, can be used in conjunction with smart targets and specialized software to track robot performance, improve or restore accuracy, expand their applications, and create individualized nominal parameters for each individual robot.
API’s Robot Metrology Solution (RMS) offers a complete robot improvement solution, which combines the 6DoF Radian Laser Tracker with Smart Track Sensor (STS) and proprietary software to evaluate robot performance. RMS uses 14 static and dynamic tests to evaluate robots to ISO 9283 standard, updating both DH kinematic model and performing volumetric error compensation to improve accuracy and path planning. And for all your calibration needs (including Laser Trackers, Machine Tools, and CMMs), the team of experienced metrologists at API Services is available from any one of our Globally-Local locations.
