API Re-Levels Moving Gantry, Improves Performance After Installation
Services Team Improves Performance 91% After Cell Phone Leveling
It’s easy to overlook maintenance on a brand-new machine tool. If it has just been installed, the expectation is that the tool will work without incident for at least the first several months to a year. The installation process, however, can be a source of early errors in machine tool performance. When one of our customers called us to discuss errors in a new machine tool that had been leveled by a cell phone app during installation, the team at API Services knew that installation could very well be the source of the error. API Services’ experienced metrologists were able to use the Radian Laser Tracker and XD Laser to:
- Identify .060” misalignment across the rails
- Verify the machine in a single interferometer setup
- Correct error parameters by over 91% in the X axis
We expect our purchases to work without incident from the time we purchase them for a substantial period of time. And for capital equipment buying that requires a significant investment, the expected working period is even longer. A Hewlett-Packard Company study in The International Journal of Advanced Manufacturing Technology, however, revealed that 88% of 57 machines were out of specification upon installation. That is 50 out of 57 machines. These findings suggest that even for brand new machines, a fresh installation could actually hinder performance more than it helps.
There are many reasons why machines can fall out of specification, even at installation, ranging from uneven foundation, mounting and alignment, and temperature conditions on the shop floor. Regardless of the cause, it is always best to have machine tool performance verified after installation, even for new tools that are well within warranty concerns.
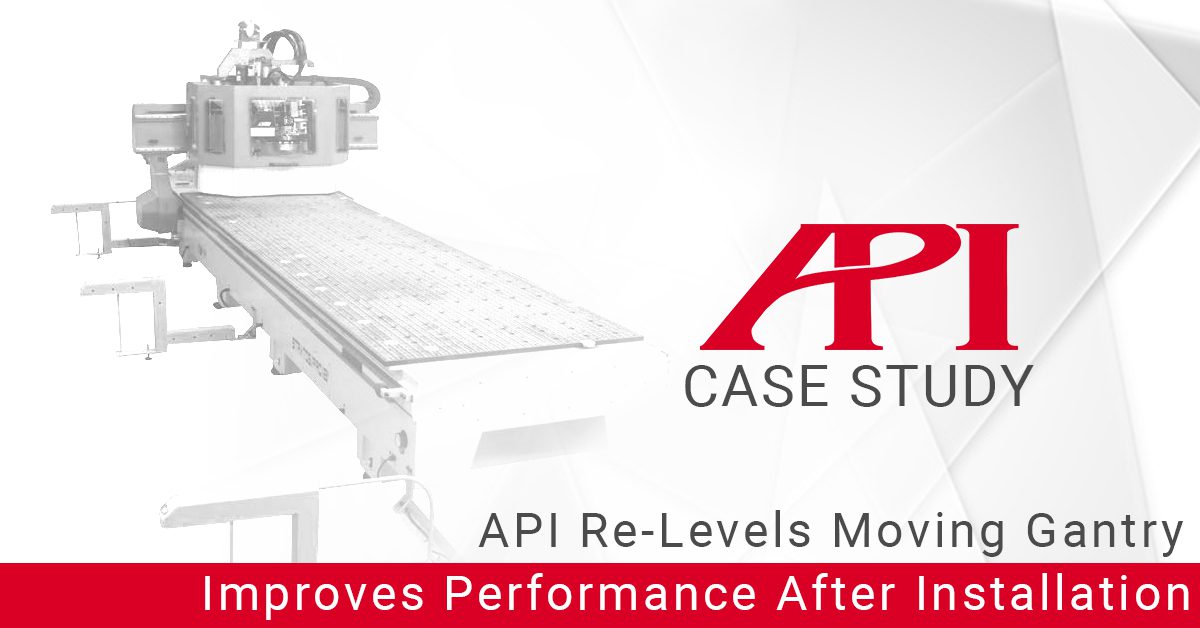
The team at API Services has experience with correcting these errors. We received a call from a customer who had some concerns over a new Anderson Stratos Pro 3 Axis Moving Gantry they had purchased and had installed for cutting plywood for Aerospace manufacturing. The customer reported that the technician setting up the machine used a smart phone to check the level. Smart phones are marvels of modern engineering, but the best methods for ensuring machine tool performance still require high-precision dimensional metrology equipment.
API Services took on the customer’s request and developed a two-pronged plan to not only correct the initial leveling errors, but also error map the gantry to guarantee its accuracy post-leveling. They dispatched Brian James, one of their most experienced Metrology Technicians, onsite with the state-of-the-art Radian Laser Tracker and XD Laser Interferometer. Brian got to work, first setting up Radian to ascertain the level of the gantry and correct any errors. Brian found the gantry was .060” out of level across the rails. Using Radian’s measurements, Brian was able to work with customer’s engineers to correct the leveling errors that took place at installation.
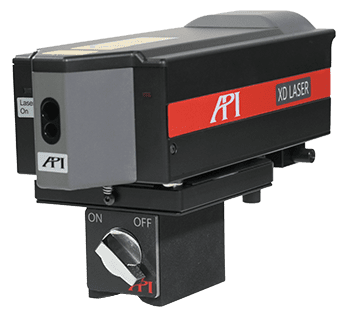
Once the machine was properly leveled, Brian moved onto the second prong of API Services’ plan. Brian prepared the XD Laser Interferometer to check each axis of the gantry for errors (either from the installation or other environmental causes). Typically, new machine performance is not error-prone, but in a single XD setup, Brian was able to diagnose and compensate for errors in the X, Y, and Z axis of the gantry. In the X axis alone, errors were reduced by over 91%, and the Y and Z axes showed 65% and 72% respectively.
API Services’ unique combination of highly experienced metrologists from every manufacturing environment and world-class first-party equipment allowed them to deliver fast, comprehensive error correction to a customer looking to protect a serious investment, saving them hours and money in scrapped parts that need to be re-machined.
Radian Laser Trackers are the smallest, lightest, most accurate Laser Trackers available, and their internal leveling system and smart target accessory options made them ideal for not only part inspection and jig/fixture/tooling, but for calibration and verification processes as well. XD Laser is the only assessment system that can measure all 6 error parameters simultaneously in a single set-up, and XD can perform corrections in real-time by integrating with all major machine tool controllers to upload updated error maps. First invented by API CEO and Founder, Dr. Kam Lau, Radian and XD have been providing efficient measurement solutions to the manufacturing world for nearly 30 years.
If you’ve recently had a machine tool installed, and want to verify its leveling and performance, please fill out the form below to speak to an experienced API Metrologist, or click here to learn more about the full-range of measurement options API Services offers to support all production processes.


