API Helps ŠKODA Auto Volkswagen India Install, Level Robotic Welding Lines
MSP Follows 4-Step Process to Ensure Accuracy from Installation
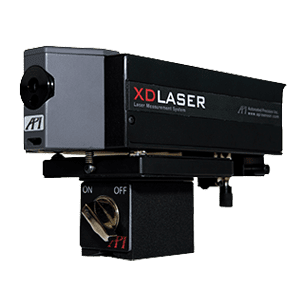
Volkswagen’s main manufacturing plant in India produces hundreds of thousands of automobiles a year as part of their partnership with ŠKODA. As the plant moves toward automated underbody welding processes, they needed to install robotic welding lines up to 90m in length. They turned to the team at API Services for support. Using Radian Plus and vProbe, the experienced team of Metrologists at API Services were able to:
- Reduce errors to a maximum of .2mm across the 90m length of the rail
- Introduce a fast and simple, 4-point installation process
- Complete Installation of 30 lifters and 15 fixtures
ŠKODA Auto Volkswagen India Pvt Ltd is the wholly owned Indian subsidiary of German automotive manufacturer Volkswagen Group. It was formed in October of last year, when Volkswagen Group Sales India Pvt Ltd (NSC) and ŠKODA Auto India Pvt Ltd (SAIPL) were merged into a single entity with its headquarters at Pune, India.


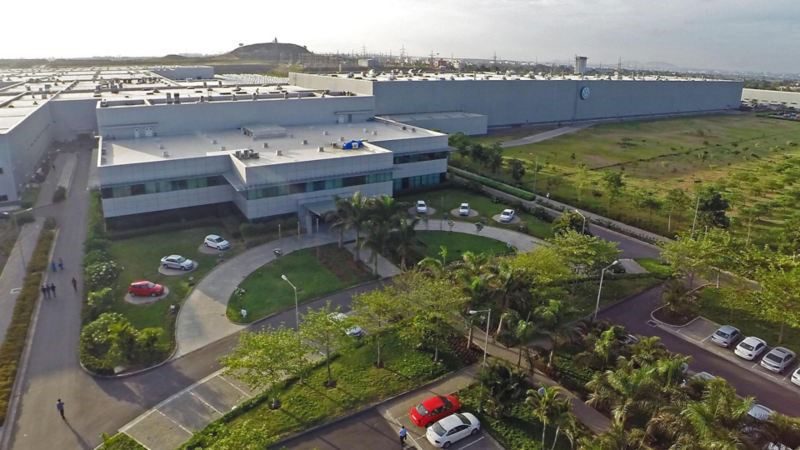
At this headquarters, Volkswagen India operates a manufacturing plant in Pune (Chakan) Maharashtra which is capable of producing 200,000 vehicles per annum. Along with the manufacturing of Volkswagen Polo and Vento (and the newly launched Volkswagen Ameo), the plant is now shared by ŠKODA for manufacturing the ŠKODA Rapid. In order to accommodate the additional vehicles for ŠKODA, the plant immediately underwent planned expansions to their automated welding operations.
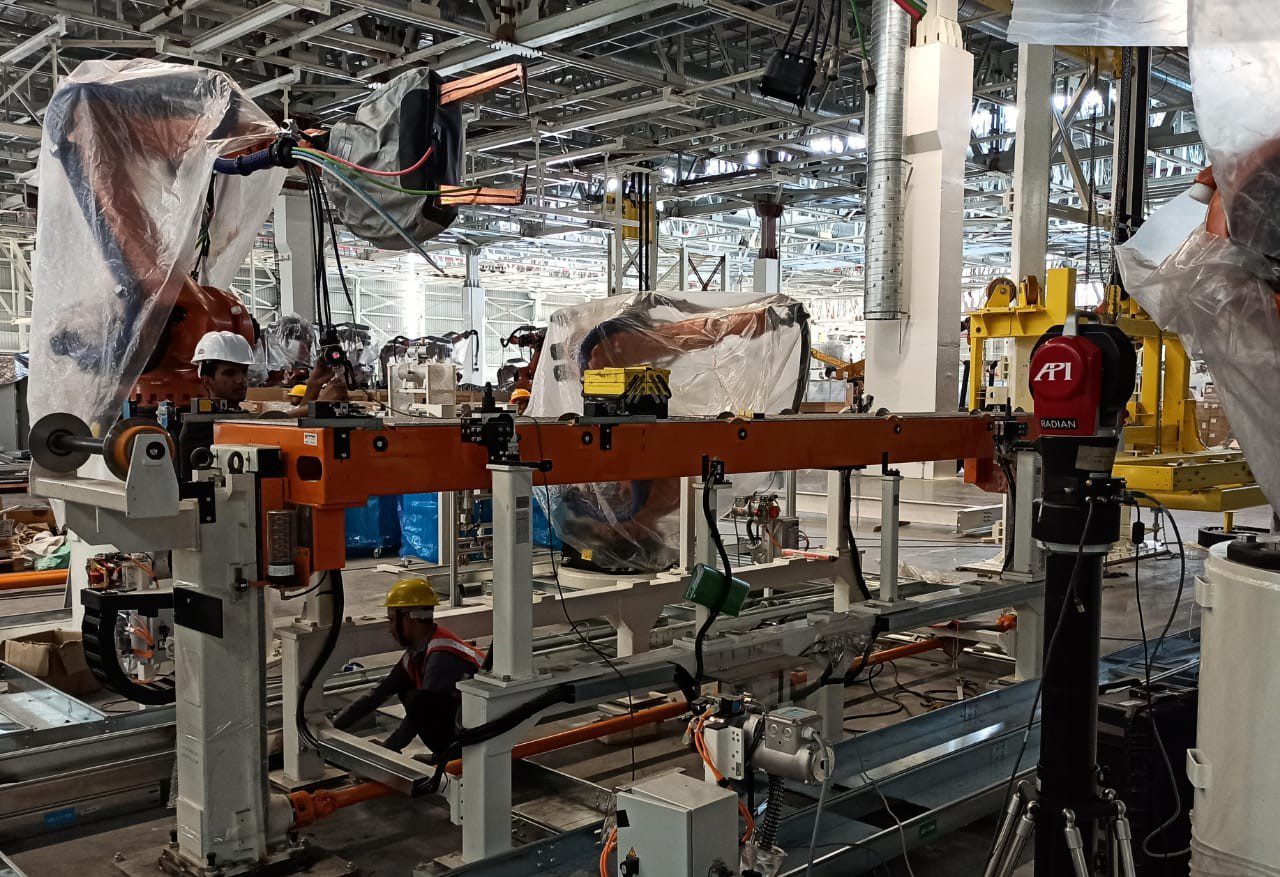
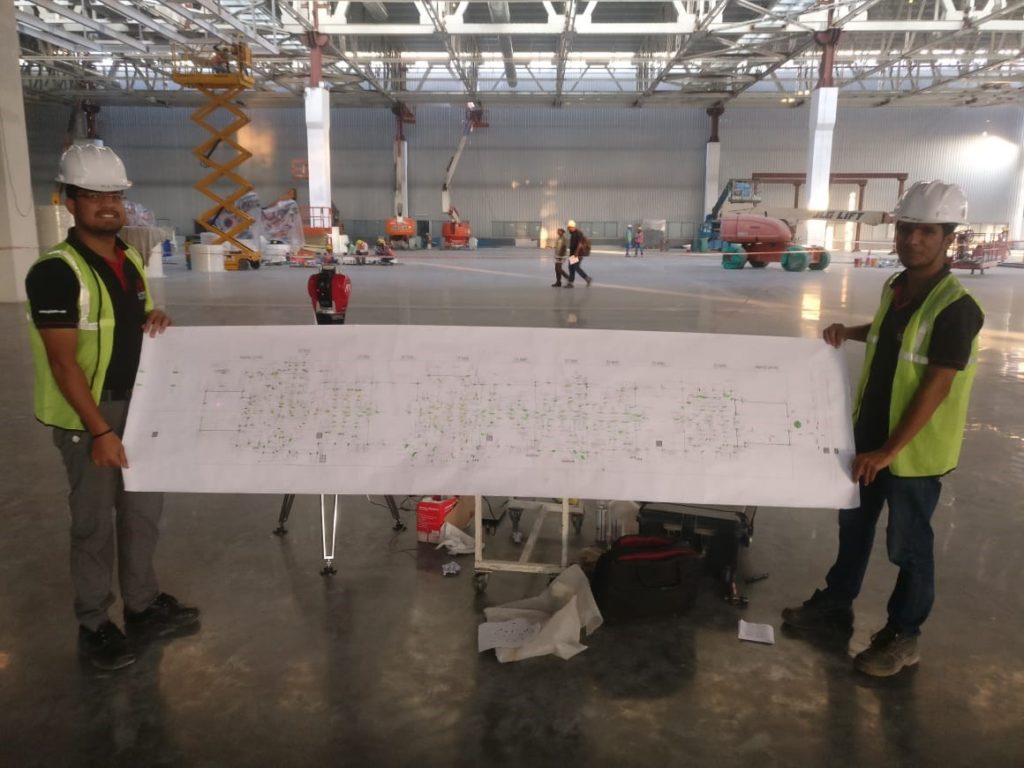
The plant began installing robotic welding lines that were 90m in length. Initially, the layouts for the lines were marked by two engineers using a measuring tape at either end of the line’s location. They would hold the tape in the X and Y directions of the rail and match locations to each other. The process was time consuming, and, at a range of 90m, errors were inevitable. To speed up the process and ensure accuracy, the plant contracted API Services to come in and verify the layout, installation, and leveling of the welding rails.
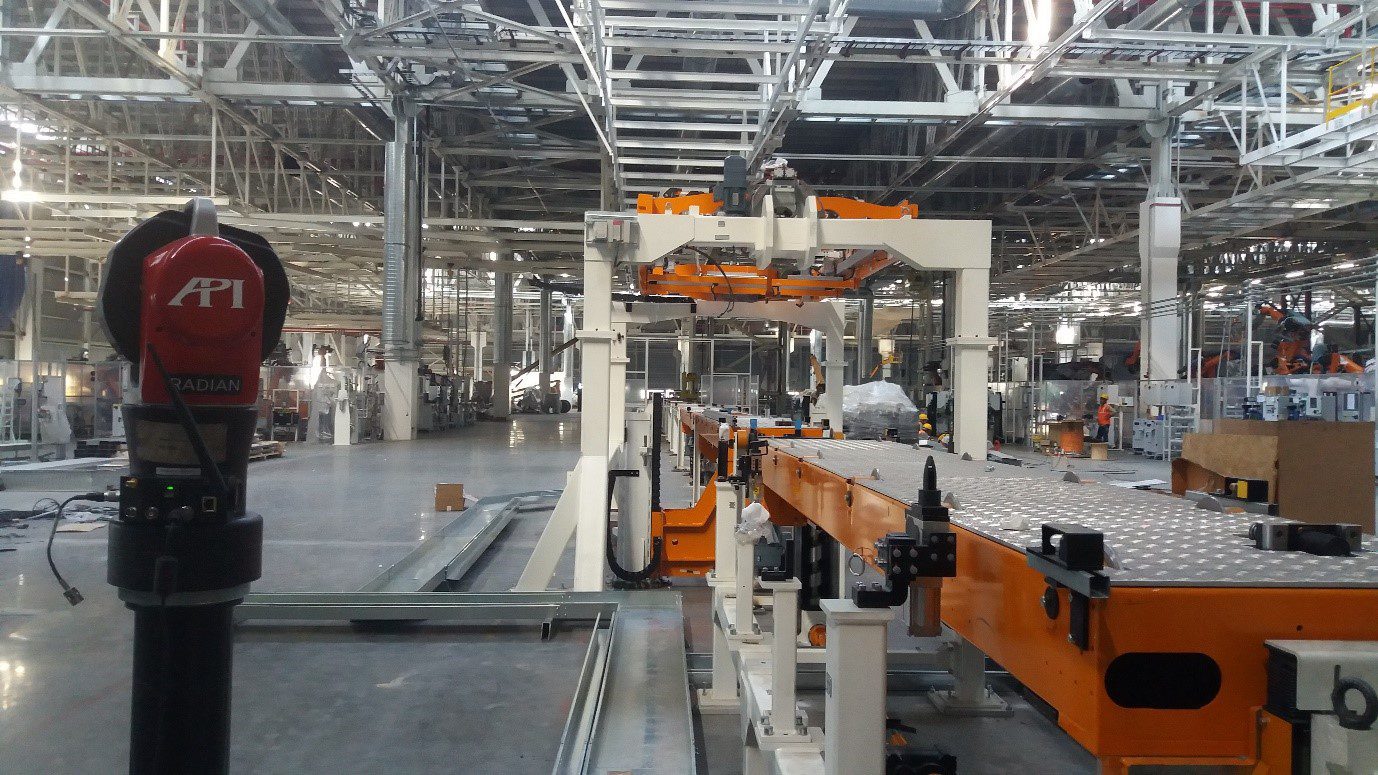
API’s India Services Team completed three robotic welding lines for Underbody 1.1, 2.1, and 2.2, which are each 90 meters in length. The API team has completed 30 lifters and 15 fixtures. Using the Radian Plus Laser Tracker with vProbe accessory, API Services created the following 4-step procedure to speed up the process while reducing maximum errors in positioning to 0.2mm across the 90m rail range.
- LAYOUT MARKING.
Initially, the central line was drawn on the floor considering the given beam distance in drawn design data. Then, an origin point (0,0) was marked on the floor. This method was used for alignment plane, line, and points. Markings on the floor for the position of base plates for lifters, robots, fixtures, columns, and cable tray were all done with center punch tool (API product) and the DRO readings from the software.
After the layout markings were done, the base plates were grouted, and lifters were installed on them. The same alignment was used for lifter settings. Here the center line of the lifter should match with the center line for the Y axis on the floor. Since the floor was uneven, the highest point on the floor was considered as zero for the lifter. This zero value was used as a reference value to level the other lifters using the virtual plane option in the Tracker’s software for the Z axis. Finally, the distance between the two lifters was maintained along the X axis.
- FIXTURE SETTING
Here the Alignment was done with respect to the car zero data (PLP method) given by the design team from the lifters. Once alignment was over, levelling of the fixtures was done by virtual plane/gravity plane option in the Tracker software for the Z axis readings. Then the Fixtures were physically moved in the X and Y directions to keep its position grouted.
- PINS AND MYLAR SETTING
Once the fixture was positioned, mylars and pins were measured with an SMR or vProbe. These readings were compared with CAD data. If any deviations occurred, they were recorded, and corrections were made by shimming. Additional pins and mylars on the robotic arm gripper were moved to their locations, with values measured by the SMR or vProbe, and any deviations were corrected by shimming. Final measurements were taken for the verification and report.
- CAR BODY TRAIL
When the fixtures, mylars and pins were aligned properly, the respective car body model was kept on the fixture and tested by the Volkswagen team to ensure proper leveling and adherence to CAD models.
API Services’ unique combination of experienced metrologists with proficiency in all manufacturing industries and state-of-the-art dimensional metrology equipment allowed them to ensure Volkswagen’s installation and leveling with a quick and efficient process. API has been leading the metrology field all over the world for 30 years. They’re a company which develops the most advanced metrology products and technologies and enables their users to get more precise and reliable results. For over 10 years, API India’s Technical Services team has delivered Laser Trackers with the most features as well as calibration services for Manufacturers in India.
Links from this article:


