How Do Tactile Probes Work?
Tactile probes extend Laser Tracker measurements, but how do these probes work, and how do they differ from SMRs? In some of our other posts, we’ve discussed how both Laser Trackers and SMRs work and how they work together to produce extremely accurate measurements across distances of 80m in industrial manufacturing.
Over the last 30 years, the tracker/SMR combo has become a benchmark for high-tolerance, portable measurements in industries from Aerospace to Automotive to Shipbuilding. But as designs and features have grown more complex, tactile probes have become more useful to capture features both intricate and out of the tracker’s line-of-sight that otherwise require smaller SMRs or time-consuming tracker repositioning. So, with how popular these probes have become, we wanted to take a look at how they work with the tracker and how they differ from a traditional SMR to take accurate measurements.
How Are Probes Different from SMRs?
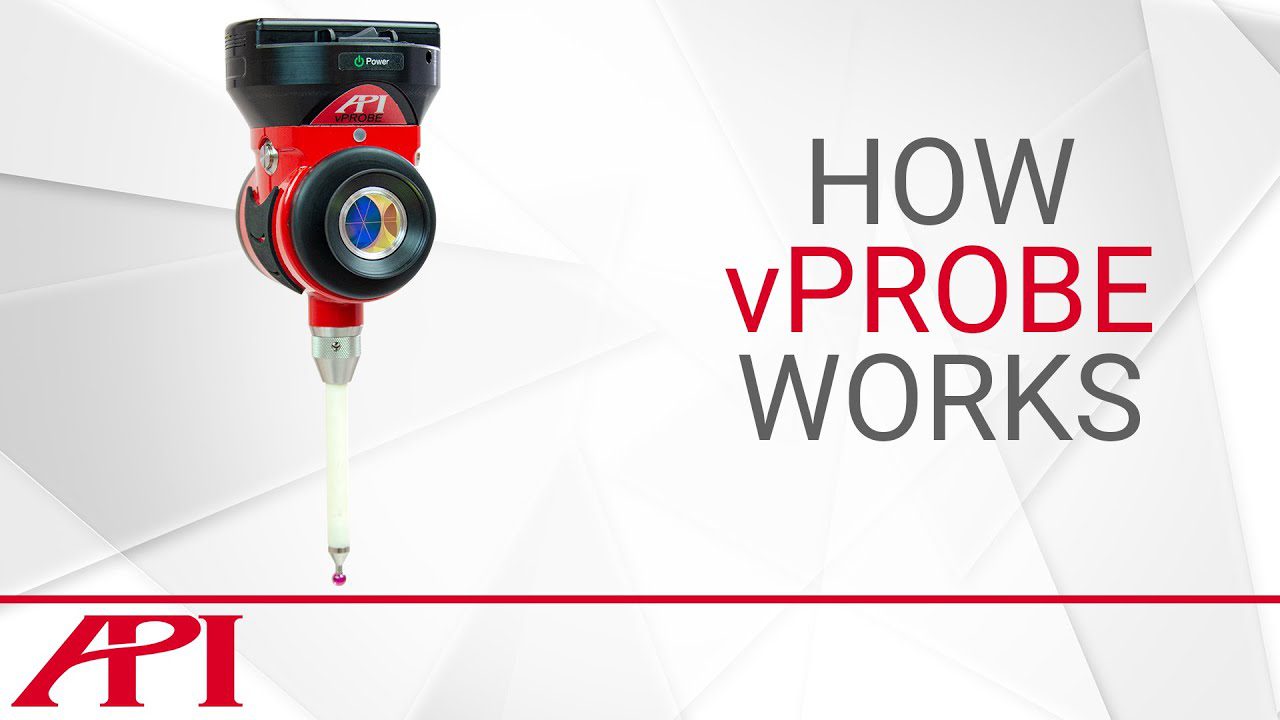
For the purposes of this article, we’ll be discussing the new API vProbe. vProbe uses a traditional SMR, mounted in a larger housing with both horizontal and vertical probing locations available to reach all features on the part. It’s these stylus locations that start to separate vProbe from a traditional SMR. vProbe takes the tracker’s laser into its mounted SMR and reflects the beam back to the tracker from the center point.
But unlike SMR-only measurements, vProbe itself is performing calculations throughout the measurement process. These calculations are necessary because the tracker is not measuring points at the center of vProbe’s SMR; the tracker is measuring points at the tip of the probe. In order to accurately communicate this point information to the tracker, vProbe needs to keep track of two main data points: the length of the probe and the SMR’s position relative to the probe tip.
vProbe features RFID-chipped styli with lengths ranging from 50 to 500mm. The chips in these styli allow vProbe to instantly recognize them when they are mounted and include their distance in measurement calculations with the tracker. But the distance is only half of vProbe’s calculation. The SMR inside vProbe can move in multiple directions without the probe tip moving. This would change the SMR distance to the tracker and allow for multiple values to be measured at a single point on the part. To compensate for this SMR movement and the angle created by the user’s hand, vProbe has multiple internal levels to calculate how far off of center in each direction the housing is.
This offset, combined with the length of the probe tip, gives vProbe an absolute position for the SMR in relation to the probe tip. vProbe is able to communicate this information wirelessly to the same metrology software the tracker is using.
How Does the Probe Work with the Tracker?
Information from the tracker and probe is combined in the software to produce the absolute reported value for the part’s feature, which can then be compared to the CAD model. vProbealso features smart buttons on either side of the housing, which can trigger single point and dynamic scan measurements, making single-operator probe measurements simpler than those of an SMR.
The complex electronics inside mean vProbe requires a power source, and its swappable batteries allow for 6 hours of continuous measurement on one charge, as opposed to continuous measurements offered by SMRs.
In short, tactile probes use an SMR mounted in a housing offset from a stylus probing tip to reach intricate and out-of-sight points on a part. To compensate for this offset, smart probes calculate the length of the stylus and the housing’s angle in relation to the tip. This information is communicated to the metrology software and combined with the tracker’s measurement data to determine the absolute position of the measured point and compare it to CAD data.
To learn more about API’s new vProbe and schedule a demo today, please visit apimetrology.com and contact us to speak to a Real Metrologist today.


