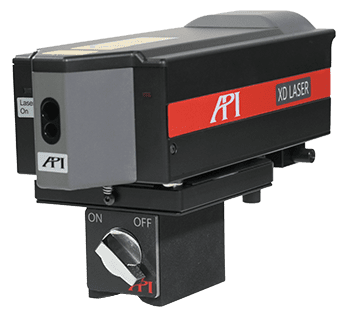
The aerospace industry was one of the first to adopt the use of laser-based, portable metrology equipment.
And increasingly complex and demanding designs have kept aerospace companies at the cutting edge of this technology. Click here to read more about the many ways Laser Trackers have become the standard for measurement in aerospace manufacturing.
The aerospace industry was an early adopter of laser tracker technology, and today the aerospace manufacturing sector is largest user of laser trackers. Aircraft manufacturing represents typical examples of what has become defined as large-scale metrology applications, which involve in-situ 3D measurement of large parts and assemblies.
Today’s modern jet aircraft fuselage structure is a complex assembly of circular frames, linear stringers, and skin panels with each structural component being precision manufactured and accurately assembled. With aircrafts becoming significantly larger over past decades, and the tendency to design larger single piece parts, wherever possible, to reduce the number of joints – the need for large scale in-situ metrology has increased.
A typical passenger car comprises of approximately 30,000 components. In comparison a Boeing 787 Dreamliner comprises over 2.3 million parts, a Boeing 777 3 million parts, and the Boeing 747-8 6 million parts. Dimensional metrology in aircraft manufacturing is at the heart of almost all manufacturing activities managing and ensuring specification compliance.
In addition to using laser trackers to validate individual component and sub-assemblies’ dimensional compliance, the laser tracker is also used to aid complex 3D alignment and verification before in-situ drilling and fixing of large critical assemblies together such as fuselage sections.
Below are highlighted some of the many and diverse applications that have now become common place for laser trackers within the aerospace industry. Laser tracker benefits include portability, ease of operation, consistency of measured data, short- and long-range measuring capability, and immediate feedback of measurement allowing real-time adjustments.
Wing Alignment and Assembly
The Laser Tracker is used with wing assembly jig. The wing is manufactured in varying temperatures, and the tracker’s dynamic scaling can maintain accuracy and compensate for thermal expansion as these various parts are aligned and assembled. Thermal expansion is one of the most important considerations in aerospace manufacturing, as parts machined and measured at varying temperatures must all align with each other for the finished product.
Measurement Assisted Assembly
For the most demanding tolerances, manufacturers will often use the Tracker to “creep up” on the measurement. This process involves using the Tracker to mark holes that are slightly undersized, cut, remeasure, and cut again to keep from oversizing the hole and wasting material.
Jigs and Composite Mold Tooling Inspection
Each piece is hand-worked, not production lined. They’re made with an egg-crate structure, which is bump-formed on a press. Laser Trackers are used at every fabrication step, with checks during fabrication inspection (Tacc and fully-welded).
Robot tracking and adaptive control ensuring exact positioning
Robots on linear rails rivet both sides of the fuselage together, and they must be accurate to each other. Robots are also used for epoxy or heat bonding as well.
Large machine-tool, alignment, adjustment and calibration
The Laser Tracker is used to position the part inside of the machine in order to guarantee accuracy even if the machine cannot work on all features at once. The machine’s axes will be set to the part’s position in the machine for when part is too large to be manipulated into position. The laser tracker can also be used to develop 3D error mapping of all the machine’s major axes.
Dimensional Validation of Individual Components and Assemblies
After all of these steps, Trackers are used for end-of-the-line quality validation checks, a final inspection, “go, no go” determination on whether the part is useable, needs to be refined, or is out of spec.
Contact us for more information.


