API vPROBE
Handheld Probing
What is vPROBE?
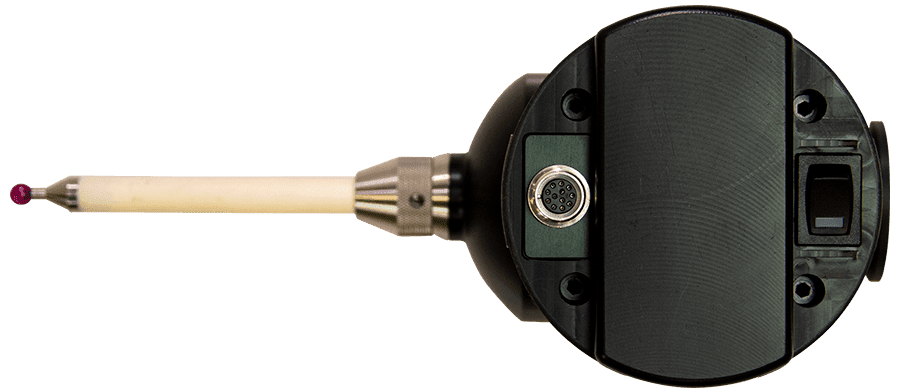
vProbe is a handheld tactile probe and essential laser tracker accessory. Engineered to seamlessly integrate with a Radian Laser Tracker, facilitating precise contact measurements and inspections. It’s versatility enables users to efficiently capture data from intricate and hard-to-reach places.
Who is this for?
vProbe is tailored for those inspecting complex items or tight spots. Ideal for professionals in manufacturing and design. Watch How vProbe Works on youtube.
Wireless
Connectivity
80 M
Range
6-8 Hour
Battery
0.56 KG
Total Weight
vProbe Technical Specifications
Probe Accuracy: 150mm Effective Stand-off(w/100mm Stylus*)
Probe Accuracy: 100mm Effective Stand-off(w/100mm Stylus*)
3D POINTS
UNCERTAINTY (3DU)
3DU is the deviation between a length measured with the vPROBETM (in a static orientation) its nominal value.**
SPATIAL LENGTH
UNCERTAINTY (SLU)
SLU is the deviation between a length measured with the vPROBETM (in a static orientation) its nominal value.**
SPATIAL RADIUS
UNCERTAINTY (RU)
RU is the deviation between a measured sphere’s radius and its nominal value. Where the reference sphere has a radius between 10mm and 50mm**
MEASUREMENT UNIT SPECIFICATION
3DU, SLU, and RU are further specified as a function of the distance between the laser tracker and the measured surface.
*These values represent the Maximum Permissible Error(MPE) between a verified Scale Bar and the expected performance of the instrument.
*Longer Stylus lengths available – accuracy dependent on length.
**Nominal Values are established by the Laser Tracker.

Applications
vProbe Features and Benefits
TRUE WIRELESS PORTABILITY
Our Probe uses wireless technology and integrated battery allowing portable measurement for up to 6 hours on a single charge.
LONG RANGE MEASUREMENT
The vProbe boasts a large operating volume up to a 40 meter radius with minimal performance degradation.
DYNAMIC SCANNING
Provides instant coordinate feedback, allowing the operator to take measurements faster than competing systems.
COMPACT DESIGN
Designed to be lightweight and fit with the Radian laser tracker in a single carrying case.
ERGONOMIC
vProbe can be operated for longer periods of time with its lightweight design and easy-hold grip.
MULTIPLE STYLUS OPTIONS
Variety of styli are available – lengths 50mm to 500mm and multiple tip diameters.
FLEXIBILITY
Dual stylus locations, easy indicator lights, and a stylus toggle switch makes measurements with the vProbe quick and convenient.
