CASE STUDY | LASER TRACKER AND VPROBE | RAIL VEHICLES
API and Siemens
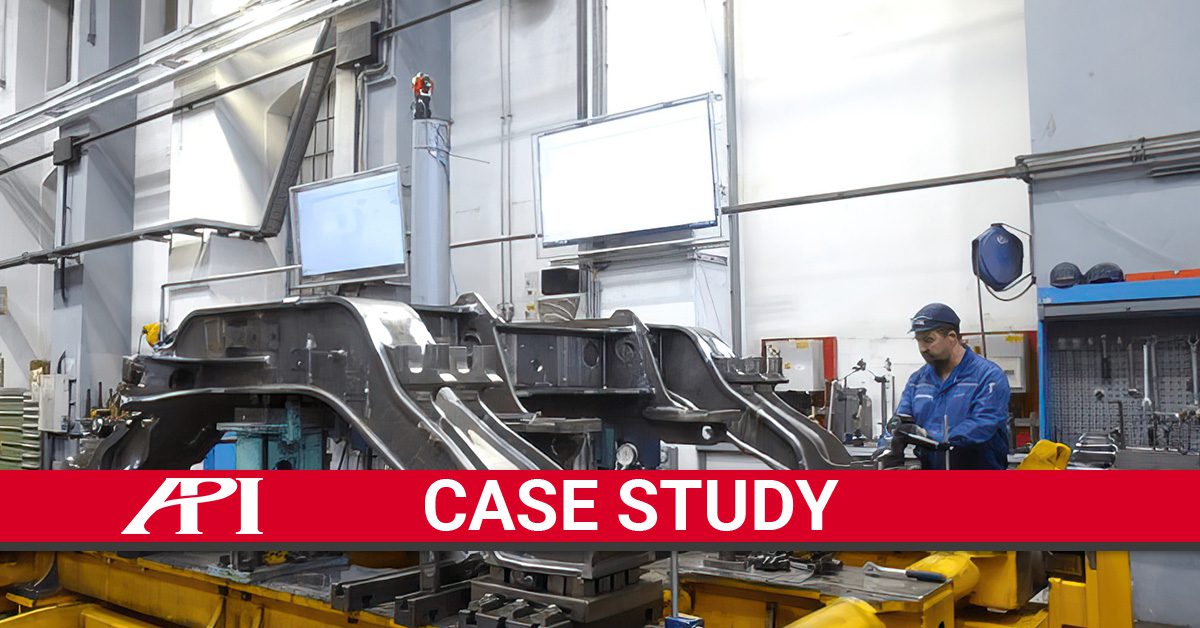
The Bogie Lead-Factory of Siemens-Mobility in Graz, a development center and manufacturing plant of high-tech bogies, is an important partner of the global rail vehicle industry. Whether bogies for streetcars, locomotives, passenger coaches or high-speed multiple units – the Siemens Mobility World Center of Excellence for Bogie Technology covers the complete product range for track-bound traffic. The high productivity stands for a degree of automation that is unique worldwide. The use of technology in mechanical production in particular sets new standards – for setup and clamping, the chassis frames have already been successfully measured for many years using API measuring solutions. Since 2022, they have been measured using the latest generation of the Radian Laser Tracker and the vProbe wireless 3D sensor, delivering:
- Recess measurement up to 30mm with extended stylus
- Mounted tracker measurements for stability and availability
- Automated workflow to support shift operations.
In the beginning is the setup
One of the core competencies at the Graz plant is the mechanical processing of chassis frames and components, starting with the alignment of the components on modular fixtures. In order to achieve a higher production throughput, the measuring technology also had to keep pace with the production capacity, which ultimately required new measuring systems. The basic requirement is the operation of two clamping stations on which the chassis frames are aligned in shift operation, measured and clamped on their fixtures with low stress and without distortion for the subsequent mechanical processing.
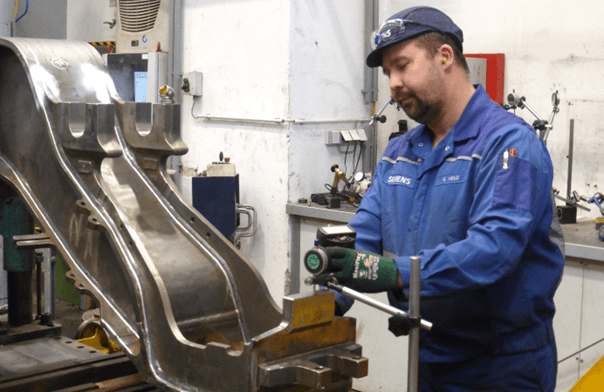
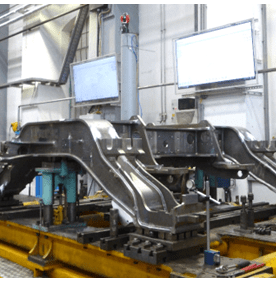
Handheld wireless sensor and laser tracker readings are displayed on large LCD screens
In the past, Siemens-Mobility worked with dial gauges that were attached to the clamping fixtures with magnets. Right from the start, there was a need to measure points that were often difficult to access – depending on the type, up to 30 measuring points per trolley, which meant a lot of time was needed for setup and clamping. For the measurements, up to 20 dial gauges were used simultaneously per trolley. Over time, it became apparent that this measuring strategy would not be able to keep pace with the required increase in production.
Modern measuring systems – and decisive disadvantages
Measuring hard-to-reach points is always a special challenge. And so new and portable measuring systems such as measuring arms, which could not cope with the measuring points defined by the design, often located at a component depth of 200-300mm, were also ruled out here.
Parallel to this, the use of Laser Trackers was investigated in Graz, which promised even higher accuracies due to their laser-based measuring principles. Like measuring arms, trackers are nowadays increasingly replacing conventional measuring systems such as Coordinate Measuring Machine (CMM)s.
But here, too, it turned out that the non-contact measuring principle of Laser Trackers, which is advantageous in many cases and which, in contrast to mechanical measuring arms, can still be used to measure very large parts (chassis frames with 3 axles can be up to 7 meters long), brought a decisive disadvantage: Measuring with the Surface Mounted Reflector (SMR), typical for Laser Trackers, did not work in the context of test measurements at Siemens-Mobility any more than measuring with measuring arms – in the recesses of the chassis frames that had to be measured, the measuring sphere could not be reached by the laser beam of the tracker and thus could not be measured.
Better is the enemy of the good enough
In principle, the superiority of the laser-based systems was recognized, but none of the suppliers were able to convince plant management: the disadvantages of the technically similar systems, which however differed considerably in size and portability, were too great. The investigations of measurement technology specialists in Graz took a decisive turn when a new generation of hand-held sensors came onto the market that had a significant advantage over standard SMRs:
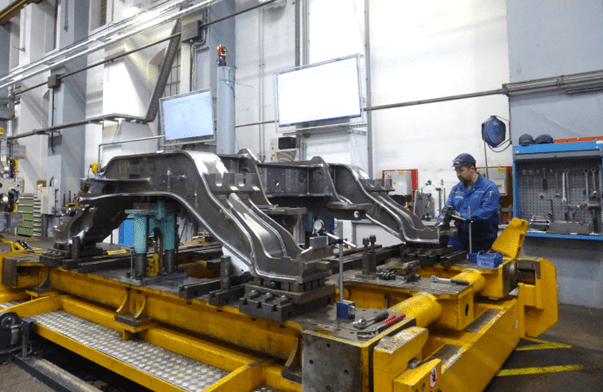
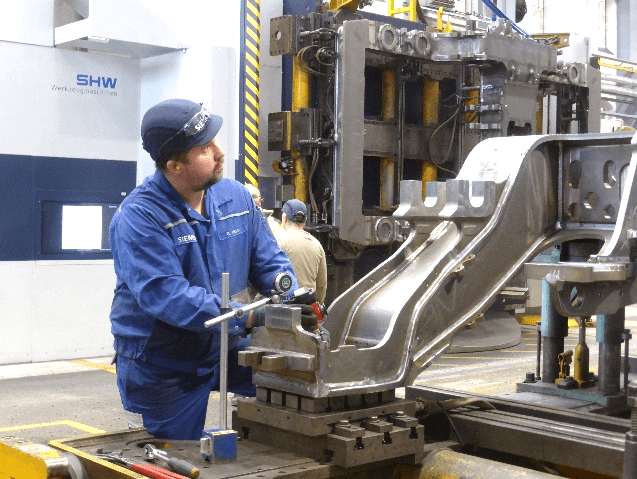
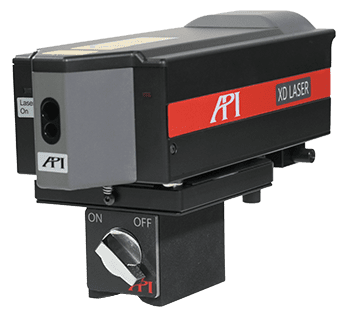
Mounted on a column: The API Laser TrackerOn the right: The wireless vProb
API’s vProbe is a handheld, lightweight, wireless sensor with a probe and enables inspection of intricate features or hidden points for large, complex parts. Wireless sensors replace existing SMRs within the tracker workspace.
Depending on the length of the tip (with extension up to 30mm), it was now possible to reach and measure points of the landing gear frames located in recesses. This finally solved the probing problem. However, in order to keep pace with the increased production capacities, further steps were required on the part of the measuring strategy.
The new measurement strategy
Following extensive tests, the decision was made in favor of the smallest and thus most portable Laser Tracker, API’s Radian Laser Tracker. Because of the two neighboring fixtures to be measured on and the difficult-to-access measurement points, a ground-level installation of the measurement system on a tripod was out of the question.
Instead, the tracker was mounted on a column specially erected for this purpose in the middle between the clamping positions at a height of about 4 meters. It was decided not to mount the Laser Tracker on the outer wall of the hall after it had been determined that the crane’s movements caused vibrations that affected the measurements.
Polyworks® software from Innovmetric is used to display and control the measured values. Thus, an innovative and at the same time practical solution was found: Two large LCD screens mounted high on the hall wall allow the measured values to be checked from both workstations. The tracker itself does not need to be operated and remains permanently switched on.
Automated measuring processes
But that was not the end of the story. The high degree of automation at the lead factory in Graz, whose maximum annual capacity is around 4,000 trolleys, required further measures in the metrological implementation of setup and clamping, which had to follow the processing in different shift models.
“What we needed was process reliability in shift operation,” said Martin Gruber, head of mechanical production at Siemens-Mobility in Graz. “The measurement system was to guide the employees. We needed meaningful documentation of the measurements and visualization of the processes.”
Measurement over long distances:
With the vProbe, even hidden measuring points are reached
Due to the machining in shift operation, a qualified skilled worker on his own must be able to perform all measurements – without the support of a measurement technician.
The task requires a high degree of automation of the measurement processes, within which the specialists at Siemens-Mobility, in cooperation with API, not only defined all the chassis types to be produced, but also stored the processing steps in the respective sequence in which they were to be processed. This also simplified the measurements.
According to Martin Gruber, however, it was not only measurement time that could be saved. Flexibility and process reliability up to the final measurement of the chassis frames were also important. Since a Laser Tracker can measure dynamically, it is also possible, among other things, to check torsion when the frame is clamped.
Overall, the measurement strategy thus follows cycle assembly at Siemens-Mobility, which is based on lean principles and guarantees high-quality chassis “just-in-time”.t.
RADIAN Laser Tracker Pro and Plus
With their measuring range of up to 80 meters in combination with the vProbe, they are the most compact system for scanning and probing.
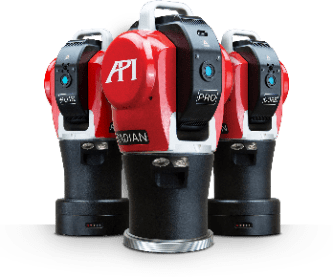
vProbe
Hand-held, lightweight and wireless sensor, advantageous for tactile measurement of hard-to-reach points and hidden structures.

Looking Forward:
API and Siemens-Mobility look forward to continuing their partnership into the future to keep the Graz facility at the cutting edge of laser-based measurement technology and processes to deliver the fastest, most accurate measurement results and productivity possible. API’s Radian Plus and vProbe have been delivering portable, wireless measurements on the shop floor at CMM accuracies for more than a decade. To learn more about how they can help support your inspection applications, or to learn more about Siemens-Mobility in Graz, visit the links below.
https://new.siemens.com/at/de/unternehmen/ueber-uns/standorte/standort-steiermark.html
More information about the Radian Laser Tracker:
https://apimetrology.com/radian/
Information on handheld probing with the vProbe:


