API iSCAN3D

Metrology 3D Scanner

What is iScan3D?

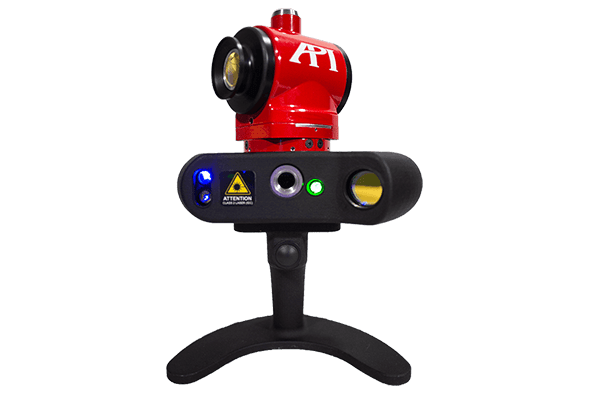
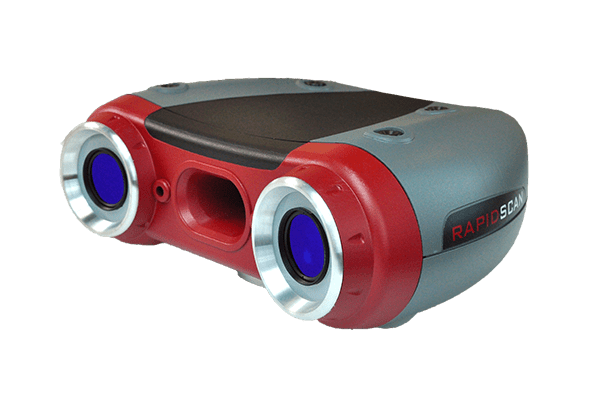
The iScan by API is a high-speed, IFM-based 3D scanning system designed to capture intricate details with precision. Lightweight and equipped with a 360° swivel head, it can scan highly reflective and high contrast surfaces, making it ideal for diverse applications like reverse engineering, fixture inspection, and CAD comparisons.

Who is this for?

The iScan is for experts needing detailed 3D scans, from car makers to aerospace engineers.

IFM-Based

Accuracy

200,000

Points/Second

1.03 KG

Weight

360°

Swivel Head

Scan
Any Surface

The iScan is capable of scanning highly reflective and high contrast surface areas.

The versatility of iScan3D makes large-scale scanning quick and simple.

Blue Crossed-Lines
Scanner

Crossed laser lines provide the ability to scan a surface in any direction with ease and flexibility.

Blue lasers and high-resolution camera provide dense point cloud with fine details of the features in real-time.

Tactile
Probing

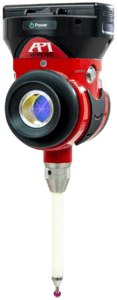
Probe to automatically identify probe length and tip size of the stylus and eliminate user probe selection during measurements. A variety of probe styli (up to 500mm supported) to suit every application provide the ability to probe profound features.

Technical Specifications

170mm ±40mm STAND-OFF

Spatial Length (2σ)
Sphere Radius (2σ)
Surface (2σ)
7M
∓ 50 μm
∓ 50 μm
∓ 60 μm
15M
∓ 80 μm
∓ 75 μm
∓ 70 μm
ABOVE 15M
∓ 20 μm + ∓ 4 μm/m
∓ 30 μm + ∓ 4 μm/m
∓ 80 μm + ∓ 2 μm/m

SPATIAL LENGTH UNCERTAINTY (SLU)

SLU is the deviation between a length measured with the iScanTM (in a static orientation) its nominal value.**

SPATIAL RADIUS UNCERTAINTY (RU)

RU is the deviation between a measured sphere’s radius and its nominal value.**

MEASUREMENT UNIT SPECIFICATION

SLU and RU are further specified as a function of the distance between the laser tracker and the measured surface.

*These values represent the Maximum Permissible Error(MPE) between a verified Scale Bar and the expected performance of the instrument.

*Nominal Values are established by the Laser Tracker.

Features and Benefits

Accuracy

IFM based precise measurement for use in applications that include fixture inspection, gap and flush inspection, and reverse engineering.

Controllerless

The versatility of iScan3D makes large-scale scanning quick and simple.

Large Scanning Envelope

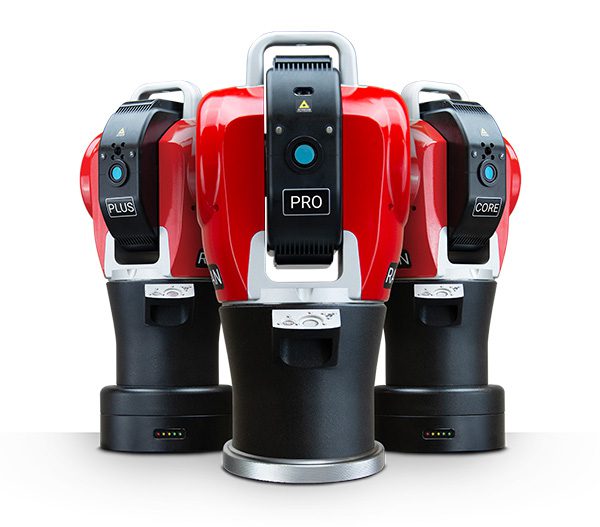
iScan3D works in tandem with API’s Radian Laser Trackers to scan large areas. Its rotating head provides flexibility by allowing complete 360° rotation.

Compact Solution

A lightweight 3D scanning system that is easy to transport and use.

360° Continuous Tracking

The iScan’s swivel head allows for continuous movement while being in line of sight with a laser tracker.

Ergonomic Design

Easy to hold and operate during measurement of cavities, hidden angles and curves.

Applications Include:

  • Reverse Engineering
  • Flush and Gap
  • Surface Contours
  • Large Body Assemblies
  • Rapid Prototyping
  • Mold and Die Cavities
  • Compare CAD
  • Fixture Inspection
  • Tooling, Fixtures and Jigs